Motivation
I’ve been trying out MyWhoosh recently (I’m a long-term Zwift subscriber, but thought I might get myself outside more often if I don’t feel I have to justify a monthly subscription). I was keen to try out the virtual shifting, but only if I could control it from my handlebars rather than using a keyboard or app. I had a Raspberry Pi Pico W doing nothing, so thought I’d try building something.
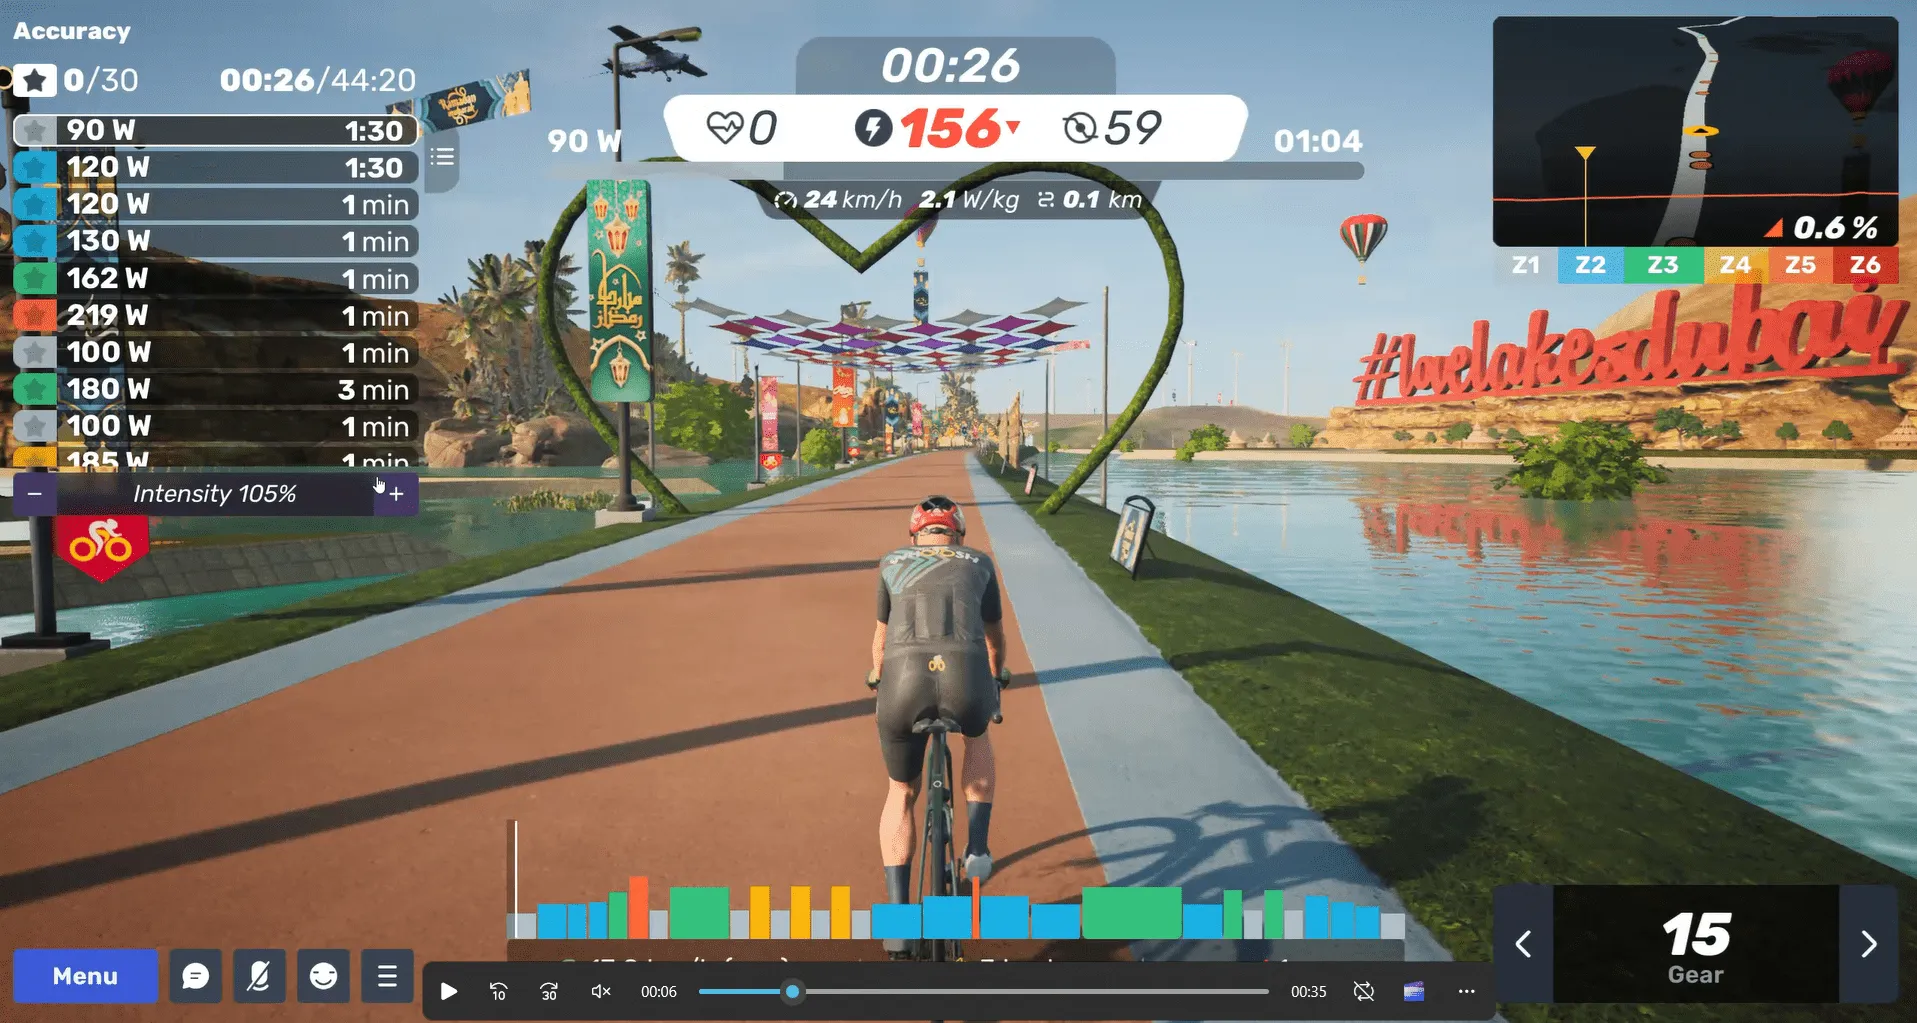
The picture above shows the user interface of MyWhoosh during a ride, with virtual gears enabled. The current virtual gear is shown in the bottom-right-hand corner.
Why use virtual gears?
- I have an old 8-speed Specialized Allez on my turbo. Virtual gears give me a much wider range of gears
- Fast gear changing
- No issues changing gear under load (eg when standing)
Requirements
My requirements were very basic:
- Controls virtual gear shifting in MyWhoosh (up and down, with two separate switches)
- Switches mounted on handlebars in a “natural” position (close to existing shifters)
- Works with MyWhoosh running on an iPad
The solution uses a Pico W programmed to appear as a BLE keyboard. Two switches trigger the “keyboard” sending either a “I” or “K”, which are the MyWhoosh keyboard shortcuts to change up/down virtual gears.
Finished controller
I’ve mounted the switches as shown below, just below the physical shift button so they are easy and natural to use. I have a switch on either side so one hand steps up the gears and the other steps down.

The solution works really well, and so far (🤞) I haven’t had an issues at all. I’m very happy with the feel of these particular switches.
Hardware
The project is built with a Raspberry Pi Pico W (currently £5.80 from Pi Hut). It must be the “W” variant as that’s the one with the Wi-Fi and Bluetooth radio. The only other components are two push-to-make switches, and some wire.
The build is extremely simple. The Pico W GPIO pins are configured (in the software) with an internal pull-up resistor. That means the inputs float high (1) when the button is not pressed and will be pulled to ground (0) when the button is pressed.
The following diagram shows the wiring. I used GPIO pins 14 and 15 as they located conveniently at a corner of the board and next to a ground pin. If you choose to use different pins, just change the software accordingly.


For an initial proof-of-concept I used some small PCB-mountable buttons that I had lying around. Once I had it working on the bench, I tested it on the bike by just taping the switches to the handlebars. Those switches worked surprisingly well and I could have lived with that solution, but thought it was worth buying something that looked a bit more professional. I found these cheap (£5.70 for four) switches on Amazon which have a nice feel and look a bit better in situ (photo above).
Software
The software is written in C and based (heavily) on the HID (Human Input Device) example code that ships with the Pico SDK. I used the pairing and sending code as-is, and just added the bare minimum to configure the GPIO pins and respond to the button presses. The current version of the software also uses the on-board LED to indicate BLE connection status, and flash when a button is pressed.
The code is available on my github. The repository includes a README with details about how to build the software and install it on the Pico W.
When the code is loaded on the Pico, the LED will initially flash quickly (pairing mode). When the keyboard is successfully paired, the LED flashes slowly. The LED also flashes briefly each time a key press is detected and sent to the host.
Extending the project
The project could easily be extended or re-purposed:
- Add additional switches to control other keyboard shortcuts in MyWhoosh
- Map the switches to other keys for other applications
- A slide-changer remote for presentations
- A stream switcher for OBS
- Trigger TextExpander, Espanso, etc automations
You could also have one or more toggle switches that change the button-to-key mapping depending on their settings - support multiple use-cases in one device…
Experience with Vibe coding
I thought this would be a good project for some vibe coding, but it didn’t work out as smoothly as I’d hoped…
I initially used Claude, until I ran out of credit on the free plan. Then I moved to ChatGPT until I ran out credit there too. Then to Copilot. All three models performed very similarly and were happy to confidently lead me down the wrong path time and time again…
- Claude steered me to using circuitpython. I was more familiar with micropython, but confident working with circuitpython would be similarly straight forward. Claude generated a complete program and a very comprehensive README file.
- The circuitpython implementation didn’t work (silently). I fed this back to Claude and went through multiple iterations, none of which worked. Repeatedly, Claude confidently said it knew why it wasn’t working and created a new (also not working) version.
- Eventually I found (independently) that circuitpython doesn’t support BLE!! See here
- I asked Claude to reimplement it for micropython, which it did. This didn’t work either!
- At one point the project did appear in the iPad list of Bluetooth devices, but it couldn’t connect.
- After several more iterations (at some point here I moved to ChatGPT) it was clear this wouldn’t work. micropython can create a BLE HID, but not one that will work with Apple devices. There’s no way to create a BLE advertising message with the necessary information for Apple devices to recongise it.
- Both Claude and ChatGPT were confident this could be done in C, and I decided to give that a go (despite them also being confident about the two previous failed attempts!)
- ChatGPT created a C implementation and comprehensive instructions on installing the toolchain and building the application. I followed the instructions, but the software wouldn’t build (compile-time errors).
- More frustrating iterations… At some point here I moved to Copilot but had very similar results.
- Compile-time errors
- Paste them in to the AI
- AI says that’s easy to fix and provides the necessary changes
- Make modifications
- Kick off the the compile
- Compile-time errors!
- During these iterations, the AI really had no idea if the errors were caused by the code, the libraries or the toolchain, and lurched from suggesting (confidently) changes to any/all of them.
- At one point the only change that Copilot confidently suggested was to change the contents of a comment line!
At this point I gave up with AI (for now). I found the simplest Pico SDK example I could (just blinks the LED) to check the tool chain - it worked! I then took the example BLE HID code in the Pico SDK. I built that as-was to check that the HID was visible to the iPad and was able to connect. This worked as well.
I gave Copilot this working code and asked it to make the modifications required to add the external switches and send the correct key presses. It did this perfectly.
The project was completely working at this point, but there was no way to tell what the Pico was doing. I thought it would be good to add an LED flash every time a key was pressed. Initially Copilot got this wrong by using code that would work on a Pico but not a Pico W. After a few iterations we got this working (it made another mistake re-initialising the radio).
Finally Copilot made a suggestion of adding LED flashing patterns to indicate “pairing” and “connected”. I liked that idea and Copilot was able to add it without a problem.
I wasted a lot of time using AI from the outset (and more time than I saved using AI in the later stages). Starting from a working (albeit simplified) program was the key - I should have known better.